Today, Daria from
Dariami shop on Etsy is sharing a great DIY tutorial how to make pandora style stripped beads of polymer clay.
We need several colors of polymer clay for this project, white, brown, orange and beige.
Knead the clay and mix it in different proportions to get several different colors.
Roll the clay out to get layers with different width. You can use special equipment (pasta machine or plastic roller) or use glass bottle or hair spray bottle. It’s better to do this on a glass or ceramic surface.
Put the layers one on top of another and cut to get even edge. We got layered cube now.
Cut one side of the cube with blade to get the 2-3 mm thick slice.
Take neutral color clay for a bead core. Roll a cane a little bit longer than striped slice. We need to do this because the edges will be deformed when we make the cane thinner, so we can cut the edges off.
Cover the core with slices and smooth the slice joints down.
Now, we need to make the cane thinner. You need to press it on center and than move to the ends. Try to press all over the cane equally. The cane will become longer and thinner.
Cut the cane onto equal pieces.
Squeeze the edges of the cylinder and close the core.
Roll the clay by hands to get a ball. To avoid pattern distortion, it’s better to do it both directions equally, clockwise and opposite direction.
Make a hole using a toothpick.
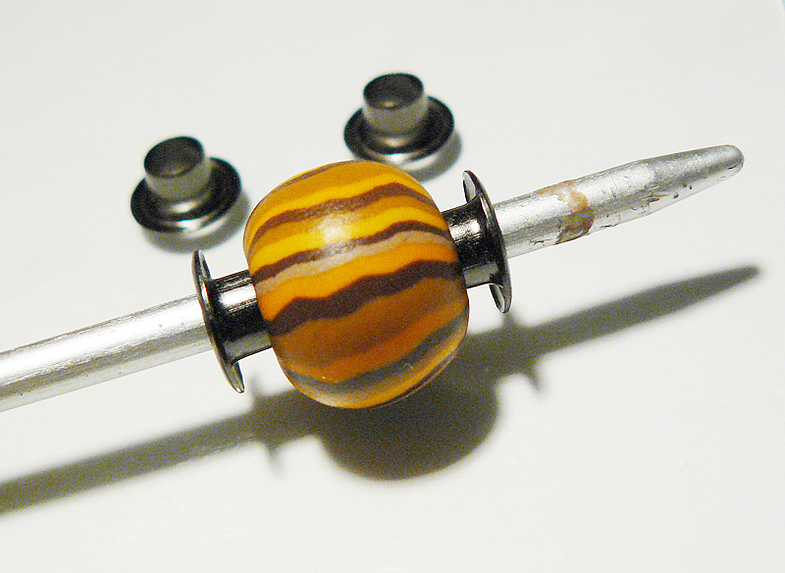
Enlarge the hole with big knitting needle. To make the hole look better use eyelets. Get them on the knitting needle and press into the clay.
Bake the beads according to the instruction on the clay package. Be careful and handle beads with care, they are very hot! Let them cool, then polish and apply special polymer clay finish. Do not substitute with nail polish or acrylic finish!
Your beads are ready! You can use them for your jewelry projects now. Daria used rubber cord and metal findings to make this necklace:
Enjoy!