Social Icons

Pages

Showing posts with label Easter. Show all posts

Tuesday, February 16, 2016

Free cross stitch pattern, Spring birds and flowers

Here is a wonderful spring birds and flowers stitching for you from Maria (LaMariaCha). If you love to cross stitch, it might be a great way to make it during last winter nights and turn it into something spectacular, like a tote or a purse.
https://drive.google.com/file/d/0B13Zc5w89rkJNFlTaVRvOFlhUkk/view
 This design has a very nice folklore feel. It will look great on contrast with black canvas cloth with its bright colors. Or stitch it on natural linen for the coming Easter decor.

You can download this free cross stitch pattern here or here

Maria is a cross stitch designer from Kursk, Russia. If you'd like to see more of her work, please visit her LaMariaCha shop on Etsy.

Tuesday, February 19, 2013

How to make an Easter basket for your spring treats


Spring is near and so is Easter. Get ready for the sweetest spring holiday by decorating your home! We love to decorate with handmade things so today Tatiana from Tatiana's Tienda shop on Etsy will show us how to make a cute little basket for your sweets or goodies.

To make this basket you'll need:

Cardstock or heavy weight paper 11"x 8.5"
Punch and copper eyelets size 5mm
Felt, ribbon,
Scrapbook embellishments: butterflies and flowers
Scissors, glue, ruler, pencil

How-to:

Take a piece of cardstock and divide it into 9 equal squares. Take the middle square and divide it in half. Draw the lines as shown on photo.
Make cuts with the scissors, about 3/4"  from both sides. This is your basket handles.
Divide the squares into three sections and draw the lines. Cut and fold them. 


If you'd like to create an old edges effect use a brewed tea bag:
 Fold strips one by one and then fold the front part. Use a punch to connect the parts together.
Decorate with eyelets.
 Attach the handles to the sides.
 Our basket is almost ready, but we still need to decorate it. 
Tanya used a pretty nylon ribbon and felt to decorate the inside perimeter of her basket. She also glued a felt semi-circle on the front.


Make your basket one of a kind and use your imagination to decorate it as you pleased - have fun!


Tutorial by Tatiana (Tatiana's Tienda)

Sunday, April 8, 2012

Wednesday, March 21, 2012

In preparation for Easter

Easter is a Christian holiday widely celebrated by all Christians around the world. However, Easter is loved not only by Christians. It is also a celebration of spring with its beautiful pastel colors and fragrant flowers.


Many cultures follow the tradition of preparing and coloring or decorating hard-boiled eggs for Easter.


Easter eggs may be hand painted like this one.


Or they can show off beautiful crocheted designs.


Сheck out this lacy egg decoration. Isn't it gorgeous?


How about felted Easter eggs? Don't they look cute?


Another traditional symbol of Easter is a bunny.


In legend, the Easter bunny brings baskets filled with colored eggs, candy and sometimes also toys to the homes of children.


How are you preparing for Easter? What decorations do you use in your house?

By Yana (WineCountryLife)

Monday, March 5, 2012

Easter egg decor


When it's time to decorate your home for the holidays, nothing is better than doing this with your child. It is fun for both of you and your son or daughter will carry  memories like these all through their life.

So I thought of some easy and fun ways to get ready for Easter and decorate some eggs.


I am giving you an idea how to decorate one egg but you can make as many as you like.

What you will need:

1 hard boiled egg, either dyed or white.
1 paper napkin, white if you are decorating a dyed egg or a pretty pastel color for undyed egg.
A pretty ribbon or raffia, 10" long.
A scissors

Fold the napkin 3 to 4 times, just like you would do a paper snowflake.

Make some cuts on both sides of napkin. Make as many cuts as you want. 


Unfold the napkin. 

Put the egg in a middle and wrap the napkin around it. 

Tie the top with your ribbon and make a pretty bow on top.

That's it! Your egg is so cute!

If you will decorate a bunch of these, put them all together in a pretty basket. They even look like little baby chicks!

Happy Easter, everyone! Have fun decorating!

By Nadia (MamaTita)

Sunday, April 24, 2011

Happy Easter!


Russian Artists Etsy Team wishing you peace, joy and all the happiness of spring!

Thursday, April 14, 2011

Easter knit dress giveaway results

We have a winner of our giveaway! This lovely knit dress is going to a Jel from Philippines!


The shops she likes:

Art & Photography: sunriseartgallery

Ceramic and Glass: rumosaic07

Jewelry: Beautyland

Supplies: supersupplies4u

Textile Art: funembroidery

Vintage: MyVintageJewelry

Congratulations, Jel! Lyudmila, the giveaway hostess and owner of the Woolsolution shop, will contact you over email to find out your shipping address.

Thank you for participation, everyone!

Monday, April 11, 2011

Vintage Easter rabbit graphic

This is a lovely antique Easter rabbit image for you today, right in time for Easter! You can use it as a gift tag, a post card image or use it in your Easter scrapbook project.

Click on image to enlarge
This image is kindly offered by Katrin (karisagraphic)

Wednesday, April 6, 2011

Easter colors

We are so tired of the long cold winter this time of year that we are happy to forget about dark winter colors and replace them with colorful ones!

Easter ideas from Russian ArtistsPhoto sources from top, then left to right: 1, 2, 3, 4


Easter is one of the favorite holidays for many people and it has it's own colors. Soft pastels are found in nature, like pale cherry blossoms, or robin's blue egg in their nests, or the first green leaves appearing on the trees! You are also anxious to redecorate your house in soft spring colors so put away the winter decorations, open some doors and windows to let fresh spring air in and find some new spring decorations to put up.

Easter ideas from Russian ArtistsPhoto sources from top, then left to right: 1, 2, 3, 4


Our artists were working hard to bring some Easter cheers to your house. Please take a look at our collection to see what we have, I know you will find something you like!

Easter ideas from Russian ArtistsPhoto sources from top, then left to right: 1, 2, 3, 4


Story by Tanya (Socksandmittens)
Photo collages by Irina (IrinaPhotography)

Monday, April 4, 2011

Easter felted egg cozies by YanArt

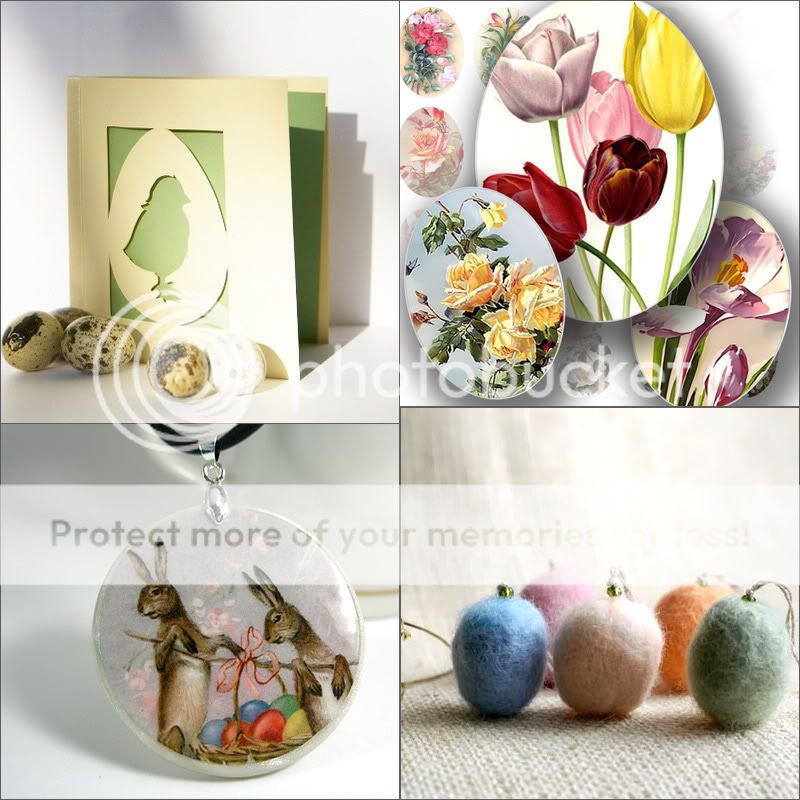
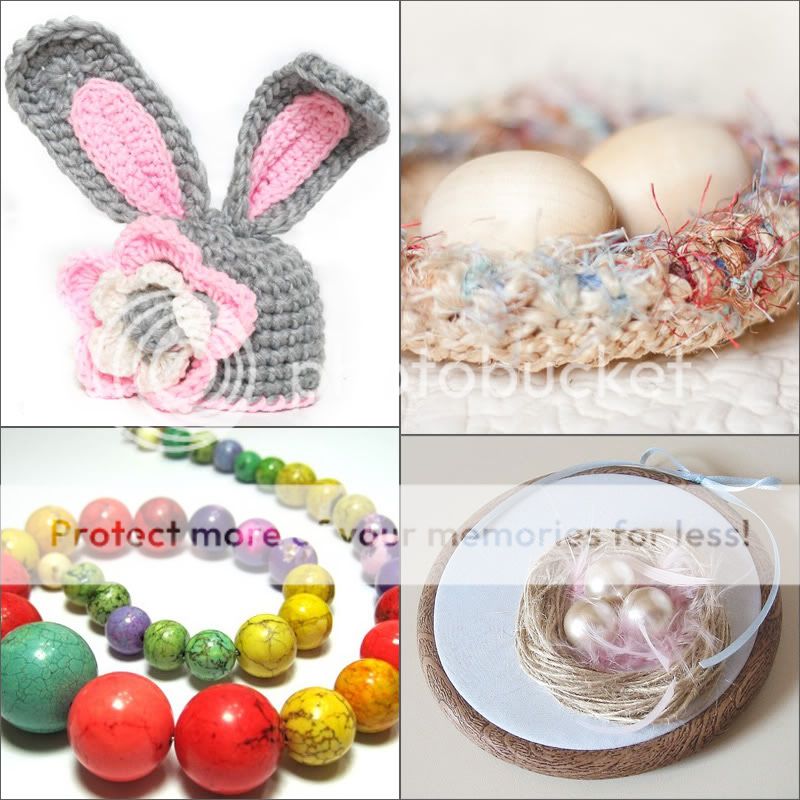
Get into an Easter spirit while making these colorful felted Eggs cozies! This tutorial is kindly offered to our readers by Yana (YanArt)


For this tutorial it is preferable you had some basic felting skills.

You will need a ruler, scissors, a marker, and a piece of PV film. For example you can use an old package. You will also need wool, water, soap and an egg.

Measure your egg's «waist» and add to the size 30% more (for example 14 cm + 30% = 18.2 cm). In the process of felting wool tends to shrink which is why you should add some size.


Divide this size in 2 (18.2/2 = 9.1cm) – this will be the size of the bottom of the triangular pattern for your hat.


You can choose the size of the top up to your liking but not less than the half of the egg's height. It can be a very tall or smaller hat, it's up to you (remember that wool shrinks).


1. Put the PV film triangular pattern on the bubble-wrap and spread several layers of wool (horizontally and vertically). Put a bit more on the edges – you will turn them over later.

2. Moist the wool with a light soap solution, cover with bubble-wrap and rub a little. Turn everything upside down. Remove the bubble-wrap and thoroughly turn the edges of the wool over the sides of the triangle.

3. Spread the wool on another side of the hat.

4. Repeat step 2. Turn the edges of the wool over the sides again horizontally. Lift and turn the wool at the bottom.

Do it in the upper direction (vertically) to make the bottom of the hat even.

5. Cover with a bubble-wrap and rub gently in circular movements.

6. Wrap everything up in a roll and roll it 50-80...100 times. Unwrap, shift a little the triangular pattern to avoid clotting and wrinkling.

7. Wrap up in a roll. Repeat step 6 several times.

8. Unwrap the roll. Remove the PV film pattern and felt with your hands.

Rub to achieve the shape of a pointy hat and to even the bottom of the hat.

9. Rinse the hat in warm water. Shape it up let it dry.

10. If needed you can use special needles for dry felting to make the bottom of the hat even.

Have fun felting and happy Easter!


Monday, March 7, 2011

Free cross stitch chart "Happy Easter!"

Easter is one of my favorite holidays. Everything is so sunny and fresh and I just love to see the colorful eggs and first blooms on a spring flowers!


I wish to share my love of spring with my friends but some of them live far away. So I am sending them a note, just to let them know I am thinking about them!
Sometimes I am purchasing greeting cards but I am also making them when I have the inspiration and time.

I made this design in the spring of 2009 for some of my friends in England. It is very easy to stitch and you will make it in no time!

You can buy a tri-fold card for your stitching or you can make one yourself (for step by step instructions please visit my blog).

I am always happy to see your finished projects made by my charts. Please send me a photo of your finished card through the conversation at my Etsy shop (AGardenCottage) and I will publish it on my blog!

I am sure your friends will be happy to hear from you this Easter. Please enjoy this complimentary chart and have a wonderful spring!

By Tanya (AGardenCottage)
Related Posts Plugin for WordPress, Blogger...